
Automatically signing into an account can be a time-saving convenience, particularly when you’re pressed for time, and every second counts. However, there may be occasions when you prefer not to remain signed in for various reasons.
As a Chrome user, automatic sign-ins will persist unless you disable the feature. The upside is that turning it off is a simple process, and you can then choose when to sign in to your account.
How to Turn off Auto-Sign-in on Chrome for Windows
To disable the auto-sign-in feature on Chrome, follow these simple steps. Firstly, open the browser and click on the three dots. From there, select “Settings.” You’ll see a list of options on the left side of the page, including “You and Google.” This will be the first option on the list, and you should click on it.
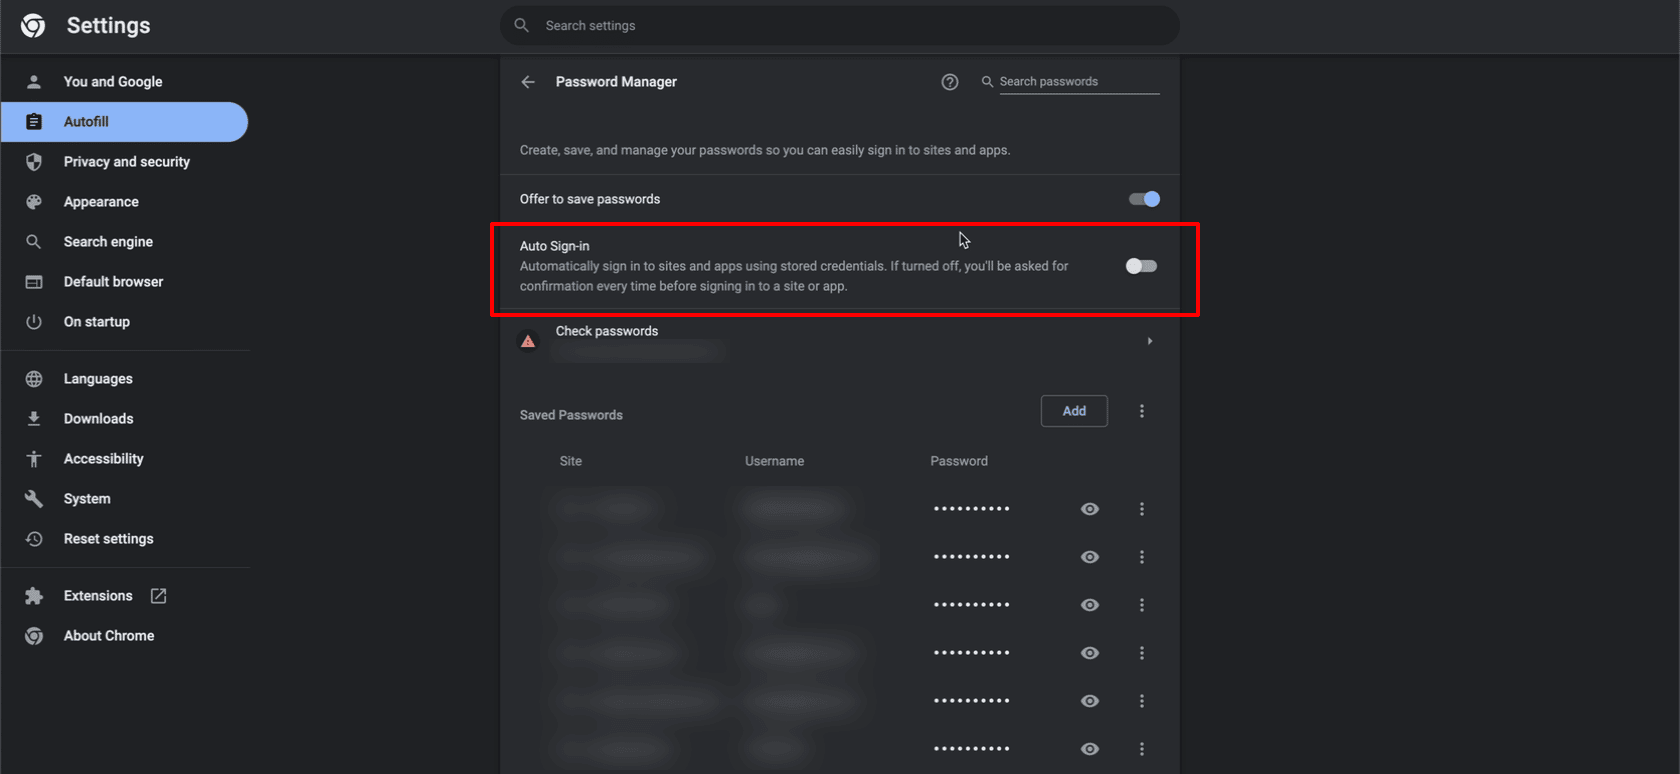
In the “You and Google” section, scroll down to “Other Google services.” Here, you’ll find the option to “Allow Chrome sign-in.” To disable the feature, simply toggle the switch to the off position. Once done, you can access other Google services without signing into Chrome. That’s all there is to it!
How to Disable Auto-Sign-in on Chrome for Android
Follow these steps to disable the auto-sign-in feature on Chrome for any Android device. First, open the browser and tap the three dots in the top right-hand corner. From there, select “Settings.”
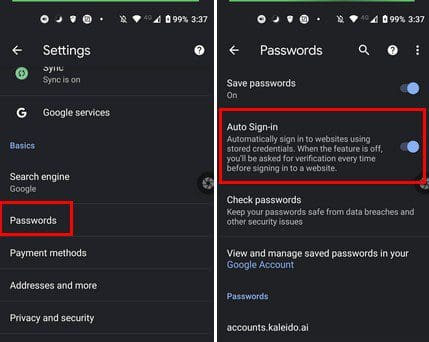
Next, tap on the “Passwords” option, and you’ll see the “Auto sign-in” option at the top of the list. Simply tap the toggle switch to disable the feature, and you’ll be in control of when you sign in to your accounts on Chrome for Android. Disabling auto-sign-in on Chrome for Android is an easy process, as with the desktop version.
Conclusion
Whether you’re using a computer or an Android device, disabling the auto-sign-in feature on Chrome is a quick and straightforward process that takes less than a minute. Whether you choose to turn off the feature temporarily or permanently depends on your preferences and the context of your use.
If you value convenience and time-saving and trust your device’s and accounts’ security, you might choose to keep the feature on. However, if you’re concerned about privacy, security, or sharing your device with others, you may prefer to disable the feature permanently or only turn it on when necessary.
Please let me know if you have further questions or need more information. Don’t forget to share this article with others on social media if you find it useful!
Did you like this article? Do not hesitate to share it on social networks and subscribe to Tech To Geek on Google News to not miss any articles!"Because of the Google update, I, like many other blogs, lost a lot of traffic."
Join the Newsletter
Please, subscribe to get our latest content by email.